Returning from GothCon (more about that in a later post) I was a bit tired of all the desert stuff. For relaxing I decided to build and paint the 28mm Italeri Cromwell I bought a while back.
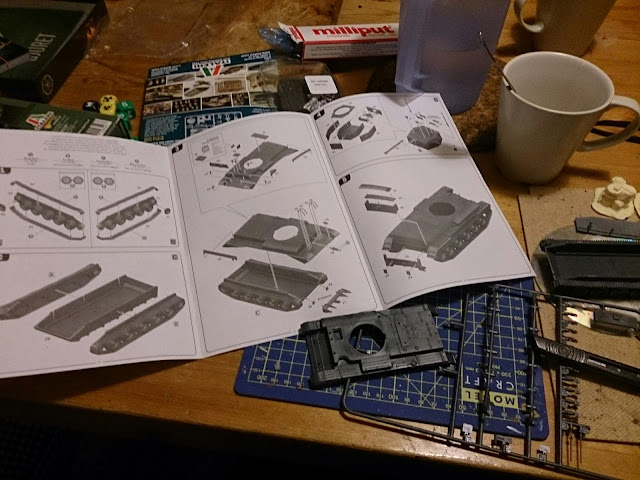 |
| Coffee, plastic glue and a sharp knife equals happiness. (Note funky Mutant: Year Zero dice on the left) |
Assembly was straight forward. It's a good kit, although the instructions tell you to cut the driver's hatch in half if you want to assemble it open, when in fact the hatch already is in two parts on the sprue. Even though it's fast build there are some nice details like the headlamp guards on the hull, the possibility to leave hatches open and the optional Cullin hedgerow cutter.
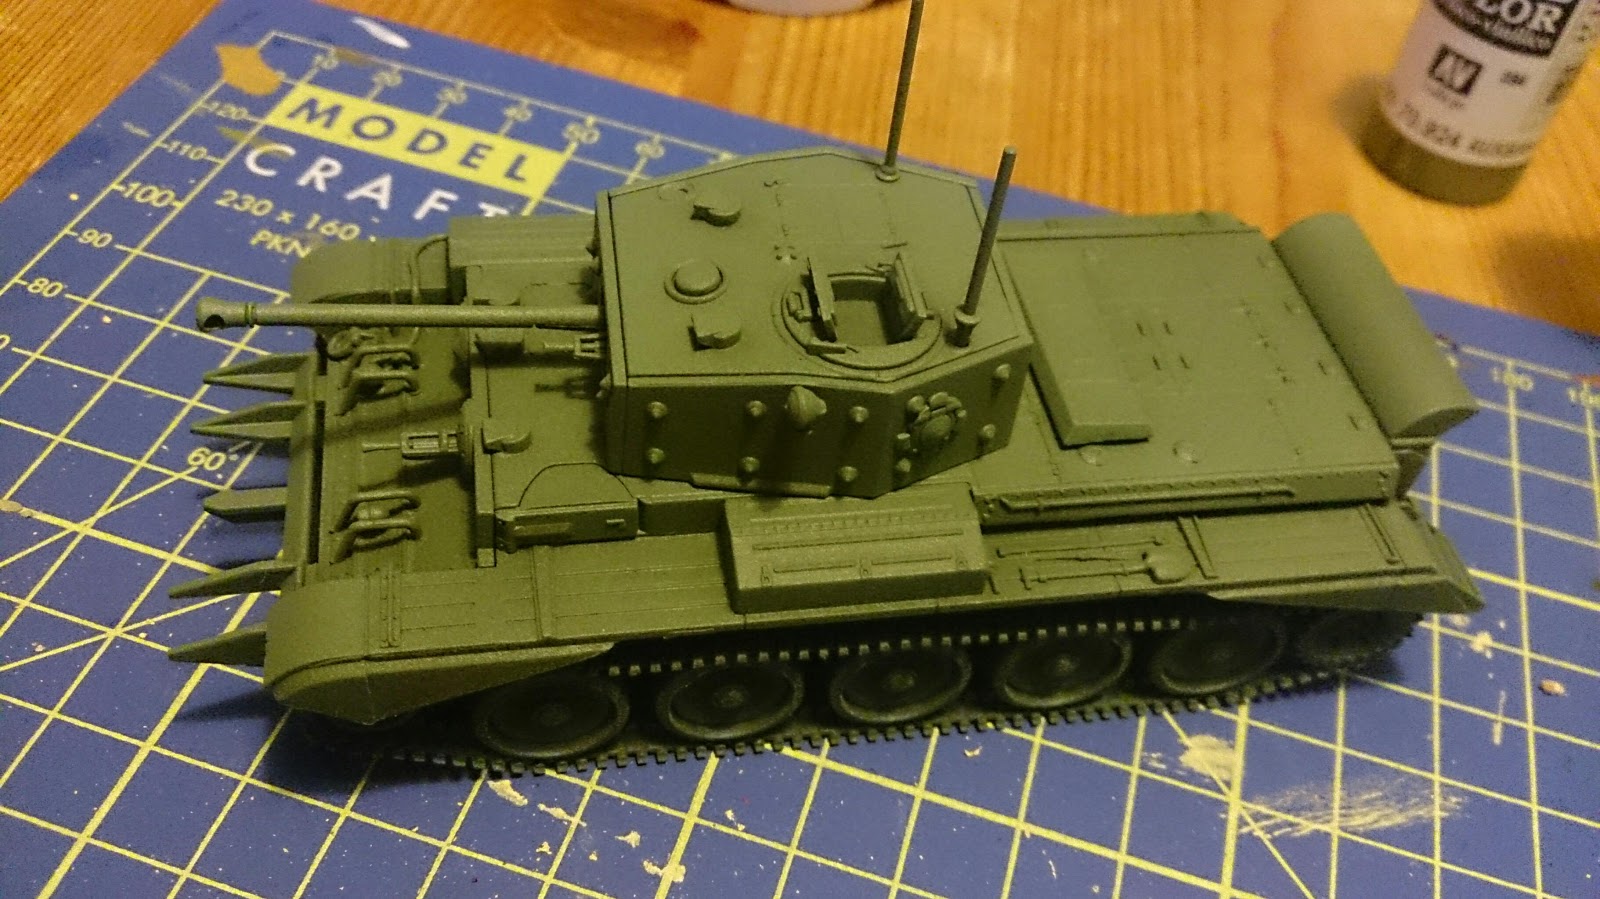 |
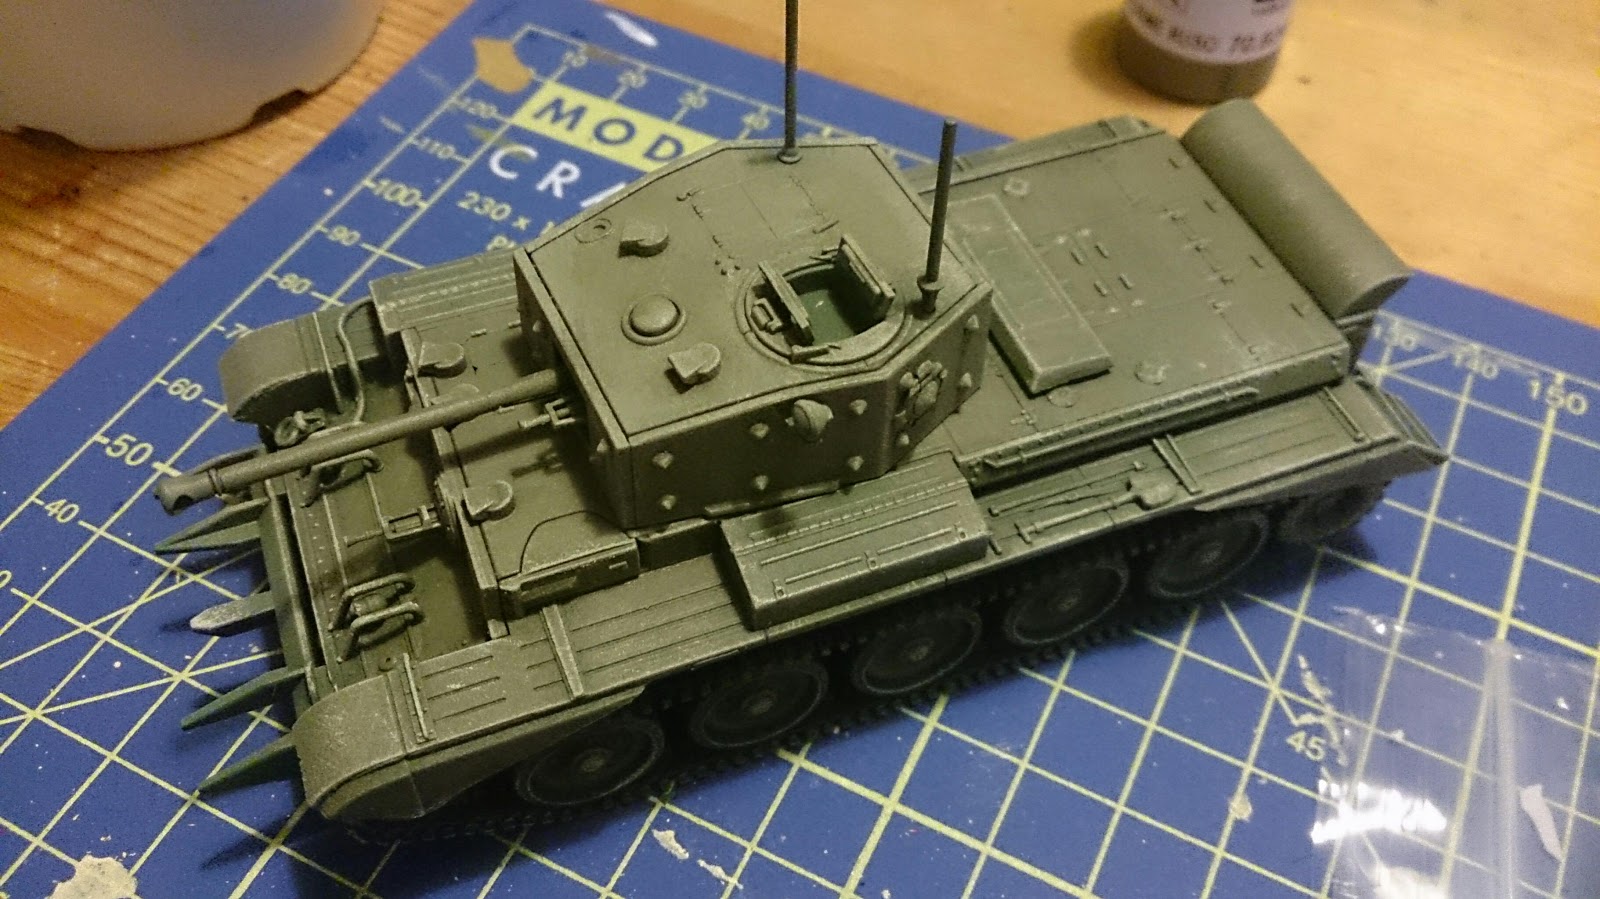
| Now it's very green. |
As I've said in previous posts I like building more than painting, so I was going to try some fast painting techniques to save time. To begin with I undercoated the model entirely with rattle spray cans. First it received a shot of black on the underside and sides from a low angle. Then I sprayed Flames of War Soviet Armour from a higher angle, and last -- still using a rattle can -- I used Army Painter Army Green directly from above to form highlights.
British and US vehicles weren't bright green though, so I had to tone it down a little. This was done with a wet brush of Vallejo Russian Uniform -- which you can tell is a good match for British armour by it's name. Or not. But it's a good match.
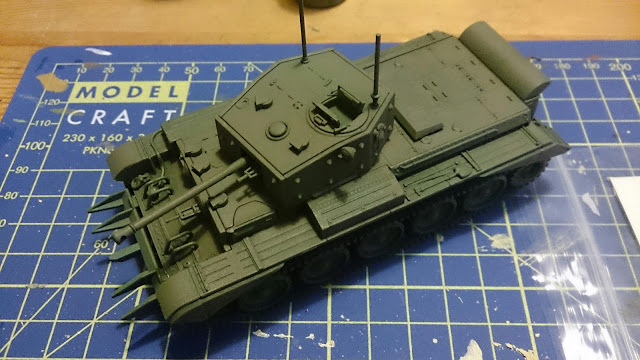 |
| With Vallejo Russian Green. |
To bring some definition to the model I then drybrushed it with a mix of White and Russian Uniform. Pure white would have been to bright, I just wanted to bring out the details. Although it looks good in the picture it was now too light for my taste. But fear not, the next step in my plan was a dark wash.
 |
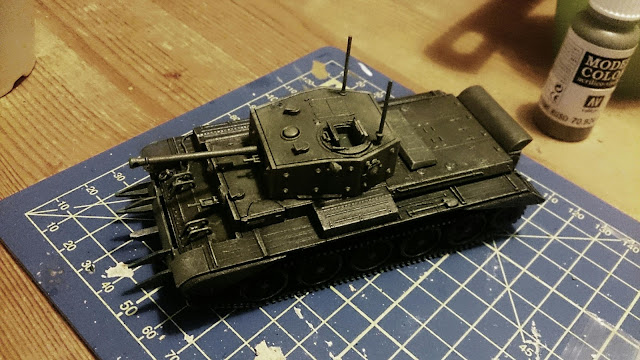
| With a drybrush to accentuate the edges and details. |
And then disaster struck. I mixed my usual magic wash consisting of black ink and Future floor polish. The wash would lightly darken the underlying surface, but mostly seep into cracks and details on the model. However, the Army Painter green had left quite an uneven surface, further accentuated by the chalky white drybrush I had put on the tank. I thought it looked good, like a rugged combat appearance, but all that surface texture kept the wash from spreading and it darkened the whole model too much instead.
 |
| After the magic wash. Oh no, what happened??? |
There was only one way to save the Cromwell; by going back and manually re-highlighting all the flat surfaces with Vallejo Russian Uniform. Several very thin and tedious layers later the Cromwell looked ok again. I also did a pin wash -- meaning manually shading the thin details using black wash and a very fine brush -- since the rough surface had also kept the wash from running into the details in some places.
 |
| Phew, saved. |
Left to do are the tracks, tools, machine guns and decals, after which some European Dust pigments will be applied. And I have to paint a commander of course, since I left the commander's hatch open. It also needs some stowage, I'll see what I can scrounge up.

Looks good!
SvaraRaderaThanks Koen.
RaderaNice work!
SvaraRaderaI too like black ink and Future, although I add a dash of brush on flat varnish and a bit of water for flow. In fact I did that this morning.
Hm, never though of adding flat varnish to the mix. Thanks for the tip!
RaderaThat looks promising. Looking forward to post #2
SvaraRaderaWatch this space!
Radera